
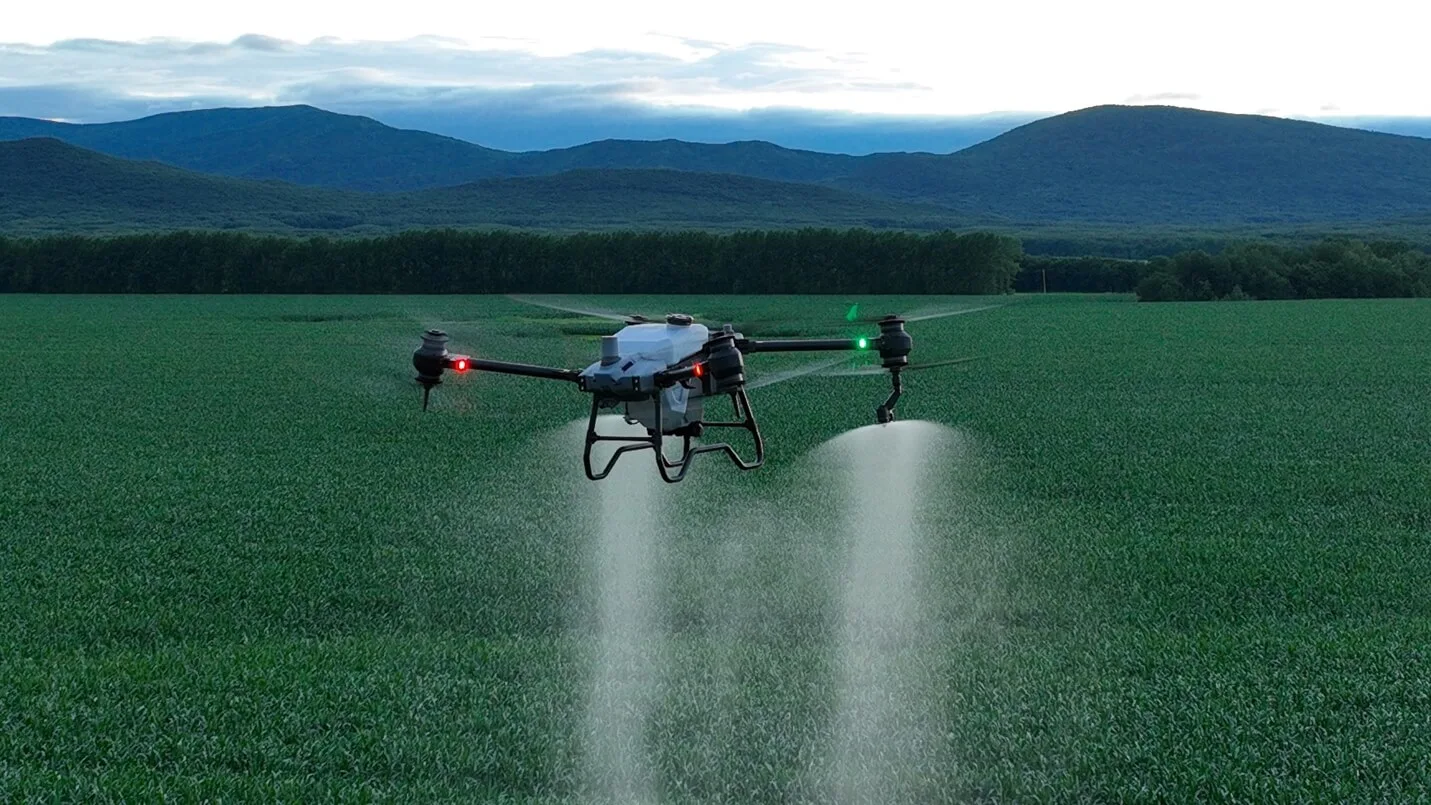
DJI Agras T40 Pre-Season Inspection and Maintenance Guide
26 May 2024
Since its introduction at the DJI AirWorks event in Las Vegas in October 2022, the DJI Agras T40 has become the spraying drone of choice for both farmers and custom spraying service providers. It has proven itself an indispensable tool in precision agriculture. For most T40 owners, we are about to
Since its introduction at the DJI AirWorks event in Las Vegas in October 2022, the DJI Agras T40 has become the spraying drone of choice for both farmers and custom spraying service providers. It has proven itself an indispensable tool in precision agriculture. For most T40 owners, we are about to start our second season. That is why it is essential for agricultural drone operators, farm managers, and custom spraying drone service providers to perform pre-season maintenance so the T40 is performing at its peak. Read on for the key T40 pre-season maintenance tips DJI Agriculture recommends for a strong start to the 2024 spraying season.
Why a Pre-Season Checklist Matters
A pre-season maintenance check is not just a proactive step; it is a strategic move. When you get to the field facing a tight schedule, the last thing you want is to run into an issue that could compromise your T40's performance or take it out of service for the day. Making sure the T40 and its components are in top condition before field work begins can prevent costly downtime and potential accidents. By building a thorough pre-season checklist, you are fortifying your agricultural operations against the harsh conditions of the farm environment.
Pre-Season Maintenance Checklist
Here are some key steps you can take to make sure your T40 is ready for the season:
The T40's arms carry the weight of the drone and are critical for stability. Unfold the arms and lock them in place. If the arm moves from folded to unfolded with little or no effort, tighten it with a 16 mm socket wrench. Make sure the arms are securely fastened. Hold each arm by the motor base and shake it. Loose arms pose a flight risk and can throw off the drone's calibration. If an arm is loose, use a 16 mm socket wrench to tighten the nut. Make sure the arm safety locks work properly. You should hear a click as the lock seats into place. If the lock is too loose, it can open on its own. If it is too tight, locking and unlocking can be difficult and may cause micro-cracks in the carbon fiber arms. Adjust the tightness of the locking lever with the hex rod inside the arm when it is unfolded.
Unfold the propellers to a position close to 180 degrees. Check the tightness of each propeller and make sure the propeller adapter screws have not loosened over time. After confirming propeller tightness, run your fingers along the propeller edges to check for cracks, nicks, or damage. If you find any, you should replace the propellers. Replace propellers in pairs and use new propeller gaskets. Spin the motors by hand to check for any resistance or rough movement. If you notice difficulty, it is usually caused by coil corrosion, a broken bearing, or other damage inside the motor. In that case, contact your dealer to have a more detailed inspection performed.
Before the season is a great time to recalibrate the spray system. In the DJI AGRAS app, go to the drone's Spray System Settings. Add one liter of water to the spray tank and run an air purge. Perform the Flow Meter Calibration. Empty the tank, go to the Weight Sensors section, and perform the Tare Calibration. Fill the tank with 20 liters of water and make sure the payload weight reads correctly. Turn on the spray nozzles to confirm they reach maximum flow rate and that there are no leaks.
Optimal battery performance can determine your operational efficiency. Before the season is a great time to make sure your batteries can fast charge. Check each battery's charging ports for corrosion or damage. Test whether each battery holds a charge and powers the drone. Then check that fast charging still works. To help batteries last longer, dust, dirt, or debris in the charging ports can be cleaned with a 95% alcohol solution and a cotton swab or microfiber towel. This kind of cleaning should be checked and performed daily.
Test Flights
- 1- Power on your drone and let it idle on the ground, checking for any errors.
- 2- Take off slowly and let the drone warm up.
- 3- Fly manually in an open area and evaluate the drone's response.
- 4- Run radar tests with obstacles and check the drone's altimeter readings.
- 5- Test the drone's automatic functions. Create a flight route and let the drone complete it.
- 6- Fill the drone's spray tank and fly manually. This extra weight and load will test the drone's endurance.
Spare Parts and Repairs
Before the season starts is a great time to stock up on spare parts, tools, and basic repair knowledge. This preparation can make the difference between a short delay and a lost day.
Spare Parts
We recommend stocking spare parts that can be replaced quickly in the field. This applies to motors, ESCs, propellers, propeller gaskets, and other common quick repairs.
Tools and Organization
Having the right tools is just as important as having spare parts. Using magnetic trays to keep small parts in place is helpful. Keeping your workspace organized is critical during repairs.
Repair Tips and Troubleshooting Strategies
Be systematic. If a repair is needed, assess the damage in a well-lit area. If necessary, take photos to document the process. Inspect each part carefully and stay organized.
Authorized Service Centers and Getting Help
Explore DJI Agriculture's network of Authorized Service Centers (ASC) for support options. Visit our website to find the nearest ASC: DJI Authorized Service Centers. ASC details are also available through the DJI SmartFarm app, where you can request repair services directly for any issue.
Action Plan
Maintaining your DJI Agras T40 is about more than completing a checklist. It is a discipline that ensures the longevity and efficiency of your investment. Implementing a thorough pre-season maintenance routine, stocking key spare parts, and learning repair and troubleshooting strategies provide peace of mind and operational longevity. By following this maintenance guide, you can be confident in your T40's performance. Now, take the time to carry out these checks, prepare your spares, and learn the troubleshooting knowledge. Your next spraying season is ready to be your most efficient yet.